Friday, December 26, 2014

Post-Christmas blahs and other things...

Christmas is over; yet another year has almost passed, and it surprises me how fast it goes!  I have enjoyed my Christmas tree, and eaten too much food... just like any other year.  The post-hoopla is both peaceful and deflating.  Where one word is positive, the other isn't.  The blahs show up every year, but it's not a big deal.  I'm glad the craziness on the roads is pretty much over.  I spent several evenings making mosaic art.  When other people baked their cookies, I baked polymer clay mosaic tiles.  I never was a good baker, but I can whip up a mean polymer clay batch!  I made these heart plaques/frames.  The hearts are made from old plastic Christmas ornaments that I sanded, decoupaged, painted, and then embellished with words.  I still have a couple left in my stash for future inspirations! 


I bought a star cookie cutter at Michael's for a dollar and made some polymer clay stars.  I stamped the words and painted the stars.  I will hang them in the kitchen window when I get around to it.  They could make awesome Christmas ornaments, so my friends might get some next year.  It was hard to get a good picture, but you get the idea...


What are you working on?  I hope you had some time off for the holidays and that inspiration is flowing.  Please sign up for my newsletter (top right hand column) if you want more inspiration and mini tutorials.  See you next year!  Have a safe and happy New Year's celebration!

Tuesday, December 9, 2014

Free tutorial! Polymer clay mosaic tiles galore...

Hello fabulous,

For years I used to make polymer clay mosaics.  I don't know if you've heard of Laurie Mika and her fabulous book, Mixed Media Mosaics?  I was smitten and used some of her techniques for making my own boxes and frames.  I have made many, but I got burned out on making them.  They make great gifts!  I took photos of the process, but I struggled to get good pictures.  I will post them anyway since the mirror I worked on is done.


I didn't get pictures from the tile making process, but you knead a block of polymer clay and roll it flat like cookie dough with a rolling pin.  The slab should be about 1/8" thick.  I then use rubber stamps, old buttons, charms, and found objects that make good indentations.  I cut out the tile with a polymer clay blade.  I put the tiles on a baking pan and put a same-size pan on top, bottom up, like a lid.  I secure the pans together with binder clips and bake in the oven per manufacturer's instructions.  Carry the pans outside, release one of the clips and slide top pan open to release fumes.  I like to use Sculpey III, but I'm sure Fimo and other brands are good too.  I tried self-drying clay for a batch and it was very difficult to work with.  You can use any color clay since you're going to paint over the tiles, but black will make the tiles darker. 


Here is a close up of the jewelry charms I baked into the clay.  They add bling!  These are the tiles after one coat of paint where I usually fill in all the indentations and wipe off the rest.  Looks messy at this stage....


This is a mirror frame.  I took out the glass part and painted the frame front and back with black craft paint.  It seals the wood and also adds "tooth" to the surface, which makes it easy to adhere the tiles.  Attach a sawtooth hanger on the back before adding the tiles.  There are sometimes holes for hanging, but it's difficult to use those and get the mirror straight on the wall.  (At least I find it so..lol.)


Same two pictures in different light.  This is the second coat of paint.  I usually smear it on with my fingers.  I try to vary the colors to get more tiles to choose from for my project.


Third coat of paint, which is embossing powder in different colors that I also smear on with my fingers.  I use Perfect Pearls.  See how it all came together?  Now the tiles don't look messy at all, but handmade for sure.  Embossing powder smooths everything out and adds a nice highlight to any ridges.  Where there is white shining through from the tile, I usually go over it with a paint pen or a fine brush, or fill in larger areas, like the purple star and sun with more of the same paint.


A basket of yummy tiles!  Now my mirror frame is dry too and I sand the edges.  Then it's time to match up the tiles for the design. This is the fun part...  It can be painstaking, but I have never done a project that didn't come together just perfectly. :)


When the design is done, I put the tiles in order on the table and spread LOTS of glue on one area at a time.  I use Aleene's craft glue, which works great, but Weldbond is also a good brand of glue for mosaic tiles.  For the wings and heart on the center piece, I used E6000 jewelry glue, which is heavy duty.  I really like my pieces to be solid.  Where there are small gaps between the tiles, I pour in a string of seed beads.  It adds bling and gives the piece a finished look.


Finished!  I painted the edges with good black acrylic paint.  I also like to paint the back one more time to make it really look good.  I sign it on the back.

Are you willing to try one of these?  It's not hard, but it looks hard. :)  What are you working on now?
I have a sale going on in my etsy shop, 20% on everything until 12/31/14.  Check it out.. http://etsy.com/shop/greeneearthoriginals
xoxo
Maria

Monday, November 24, 2014

Gelli printing guest post #2 Juna Biagioni

Hi beautiful readers, 

I'm so excited to treat you to another guest post on gelli printing and it has lots of pictures!  Juna Biagioni makes beautiful art.  Check out her post.

My name is Juna Biagioni, I’m 42 years old, a mixed media artist & explorer, and I live with my husband in the beautiful heart of Amsterdam, the Netherlands.

On my website www.junabiagioni.com you can find my blog about my art journey, and my shop with mixed media originals and prints. I’ve recently started a YouTube channel https://www.youtube.com/user/junabiagioni with my mixed media videos and am currently developing a gelli printing e-course. If you’re interested in any of these topics, you can find more information on my website. 

1. How did you get started with gelli printing and what did you use to do before you got into those?

I first learned about gelli printing (and monoprinting in general) last spring and was immediately hooked when I saw all the beautiful and fun things you can do with this technique. I have always loved being creative: as a little girl I loved to make music, draw and write stories, and in my early twenties I worked as a graphic designer. Later my focus shifted, but a few years ago I rediscovered my creative source and started a new exciting journey into art. First I worked with polymer clay and about a year and a half ago I dove into mixed media. And that’s still what I love doing today, including gelli printing.

2. Was it hard to learn how to make the prints? What is a good beginner's guide, if any?

No, the fun thing with gelli printing is that it isn’t hard at all to make prints! The possibilities are endless. It’s just a matter of trying out all the things that you can do with it, having a lot of fun, and finding out what you like best. I watched lots and lots of videos on YouTube and I can also recommend the book Gelli Plate Printing by Joan Bess.

3. How have your prints evolved?

Color! I am using more and more color in my prints and I love it! I am also lately using the gelli plate to create intricate backgrounds that I then use as a starting point for mixed media paintings.

4. What tools do you use to make a variety of prints?

I try not to pull out too many tools at the time, just to help me focus and not get lost in all the possibilities that the gelli plate offers. I use various stencils and masks (many of which I make myself), a few texture plates, and my favorite stamp that I made out of a plastic placemat. I also use household items such as bubble wrap and packaging materials. I find that the simplest tools and materials often create the most interesting and original effects.

5. How do you use the prints? What do you suggest to beginners, as far as using the prints in other media?

I often add extra layers to my prints, using media such as markers, oil paint and inks. My prints are either artworks on their own, or a background for mixed media paintings. I haven’t yet used my prints to create other products such as journals, but I might explore those possibilities in the future as well. 

6. Tips and tricks in general. Anything special to know about gelli plates? Anything you wished you had known when you started?

An important thing that I’ve learned is that I usually have to make a pile of just ‘nice’, mediocre or even plain ugly prints in order to get one that I really, really like. I first found this frustrating, I thought that each and every print I pulled had to be ‘good’ otherwise it would be a waste of paper and paint, but now I know that this is just the way it works for me. When I start gelli printing I make sure I have lots of work space to lay down all the prints I am making, and at the end of the printing
session I’ll just pick out a few prints that really stand out to me, the ones that I want to use to work on further. And the rest? The rest just forms a growing pile of new… ‘possibilities’! ;-)

7.  What kind of paper do you use for your prints?

I use Bristol paper, 250 gsm. It's a very smooth paper.  It depends on what kind of effect you are looking for. I like the smooth paper because it shows many details. 
But many other artists like watercolor paper too. That usually has some texture of its own, which can be nice for prints as well. Just a matter of preference and trying what works best.


I love Juna's art.  It has a mystical quality and so many layers.  Make sure to check out her website.  http://www.junabiagioni.com/
Thank you, Juna, for taking part in this series.  :)

I sent out a newsletter last week with more links about gelli printing.  There is a YouTube link for making your own very inexpensive gelli plate.  The link to the newsletter is on my Facebook page.   Scroll down to the third post from the top. 
More guest posts coming soon.  Have you tried Gelli printing yet? 

Wednesday, November 19, 2014

Gelli printing series #1 guest post by Tami Sturm Howse

Hi all, I have been slacking here, but I got this great idea to do a series of guest posts with artists who are great at Gelli printing. This new-ish technique has taken the mixed media art world by storm. If you don't know what gelatin printing is, check out this link.  There are many tutorials on YouTube as well, for beginners and experts.  Gelli plates can be purchased on Amazon and other art supply online shops.  You can also make your own plate.  There are many tutorials on how to make one on YouTube.

Let me introduce mixed media artist Tami Sturm Howse.  I met her on the Gelatin Printing Enthusiasts on Facebook.  I asked her a few questions and this is her guest post.  Also, please check out her blog and etsy shop for more pictures.  Links are at the end of the post.

1. How did you get started with Gelli printing and what did you use to do before you got into those?

“Tami, this looks like a craft store exploded”, said a friend when she saw my craft room.

I started out as a scrapbooker years ago, but realized that nobody in my family ever really looked at my scrapbooks. I then became interested in mixed media. I loved that I could use all of my “stuff”, which was becoming quite plentiful.

Being a true crafter, when I first saw the Gelli Plate, I wanted it, whether I needed it or not. However, I wasn’t willing to spend the money until I knew I’d like it. So, I went online and found a way to make my own. After I played with the homemade one, I decided I didn’t want to have to run to the refrigerator every time I wanted to use it (I wasn’t aware of the “permanent” homemade version yet). So I bought the 8x10 plate.

2.  Was it hard to learn how to make the prints?  What is a good beginner's guide, if any?  It wasn’t hard at all to learn. I watched several YouTube videos (Carolyn Dube was a favorite) and just got started. The cool thing about Gelli printing is that if you don’t like the print, you can just paint over it. For the beginner, I would say that if you make a print that you absolutely love, don’t change it. Also, ALWAYS scan your prints if you have a scanner. That way, you can digitally immortalize them, and you don’t have to be timid about cutting them up and using them.

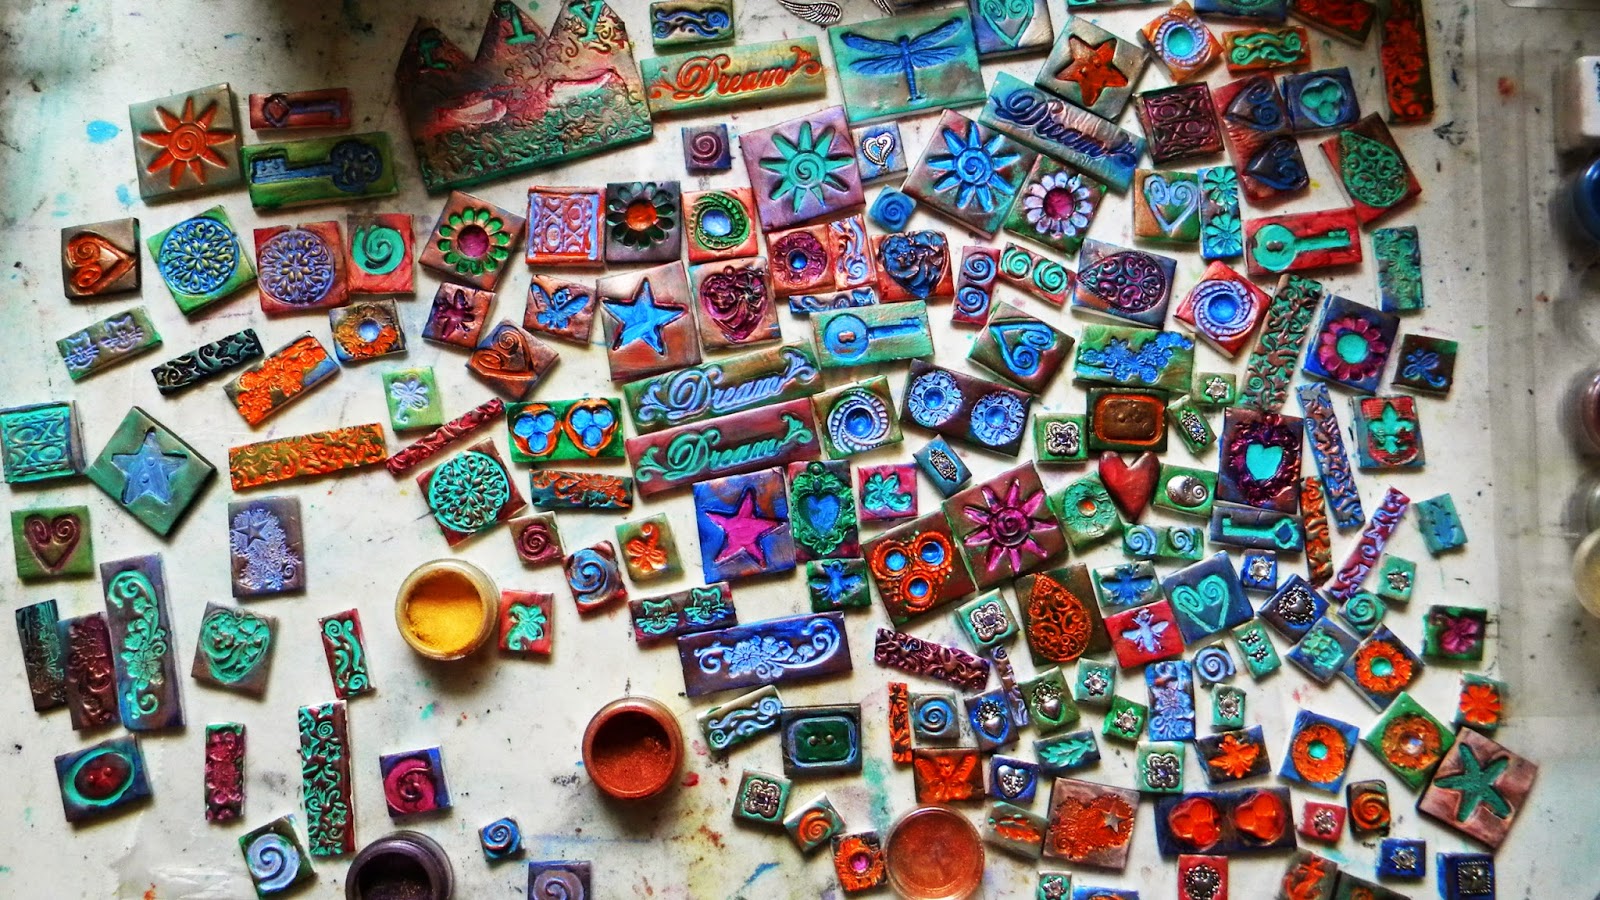
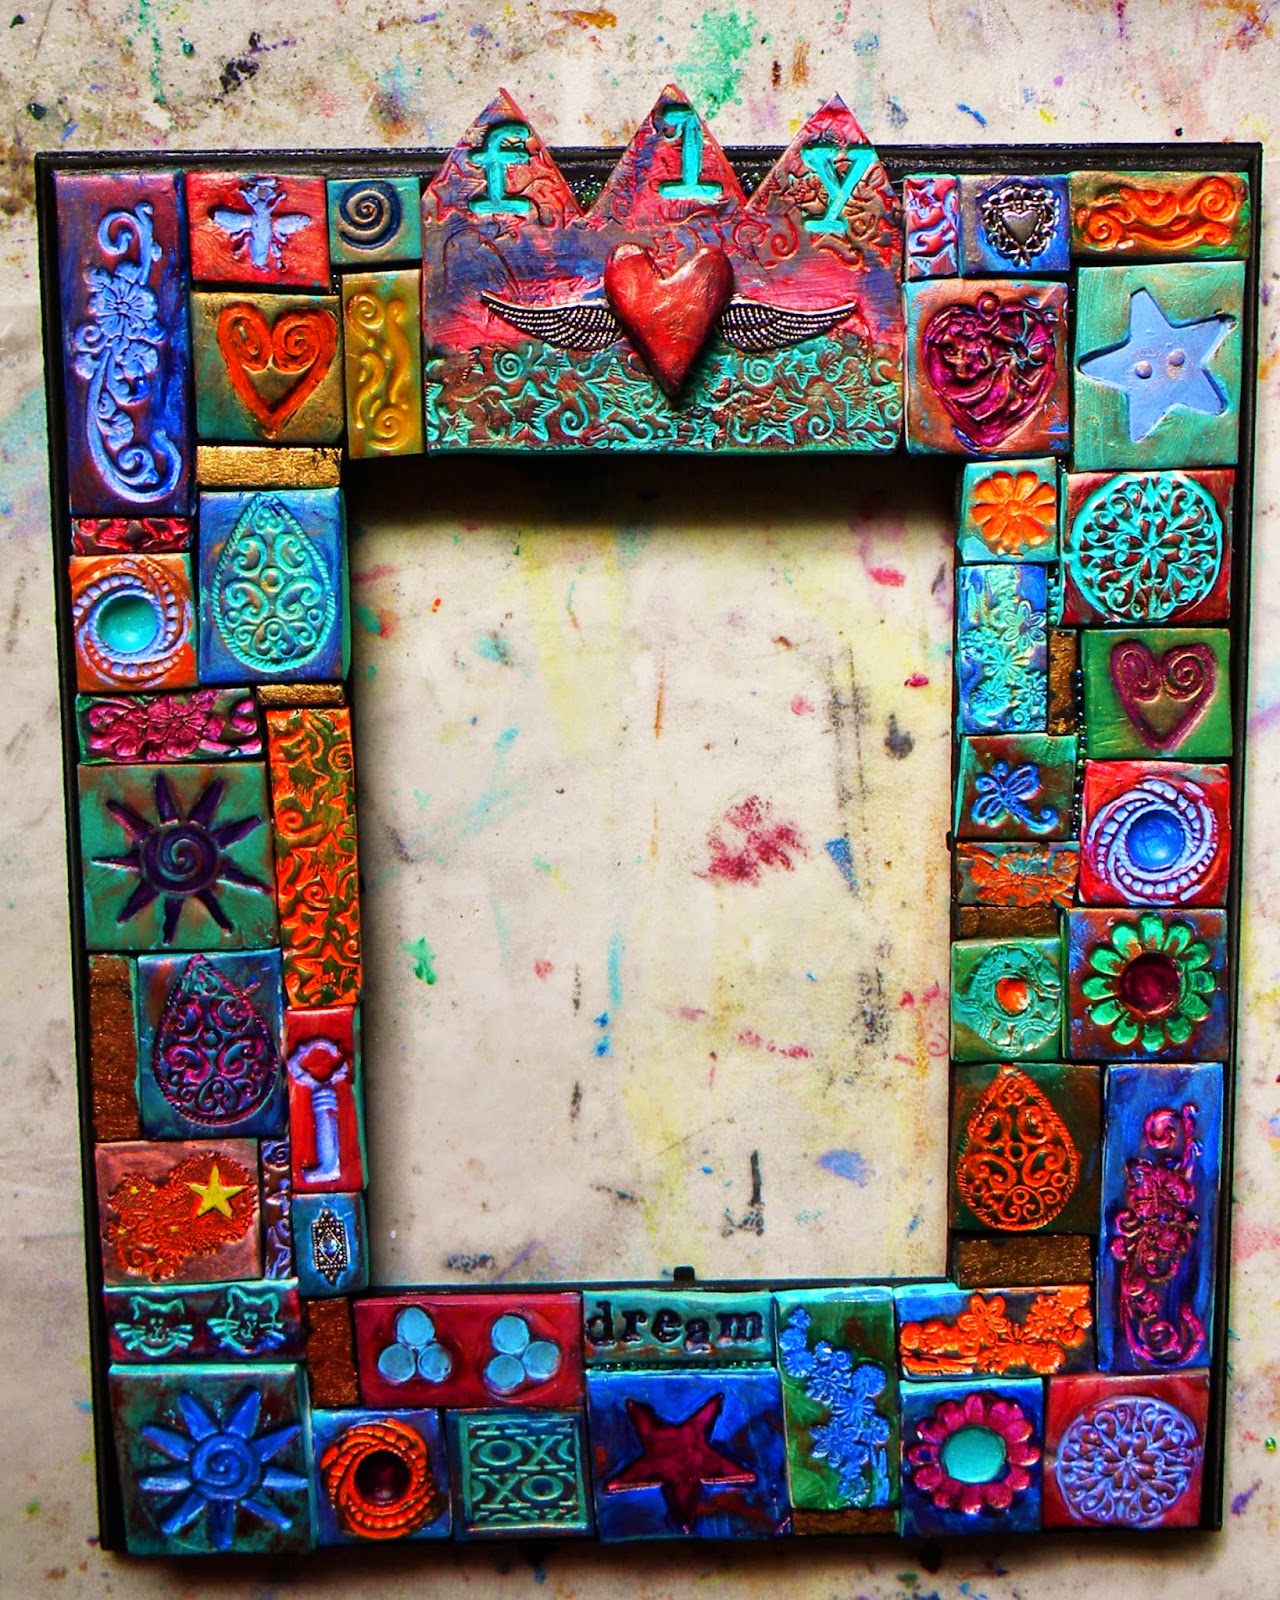
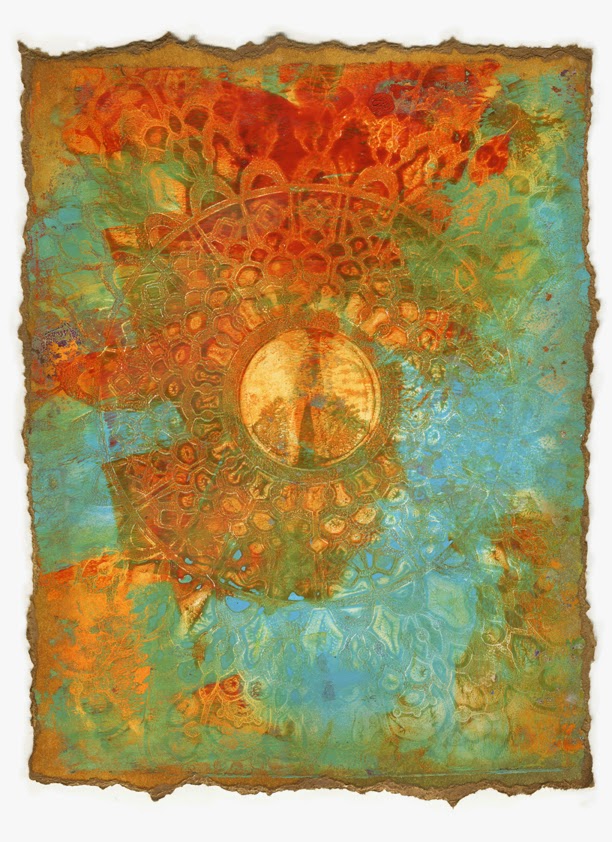
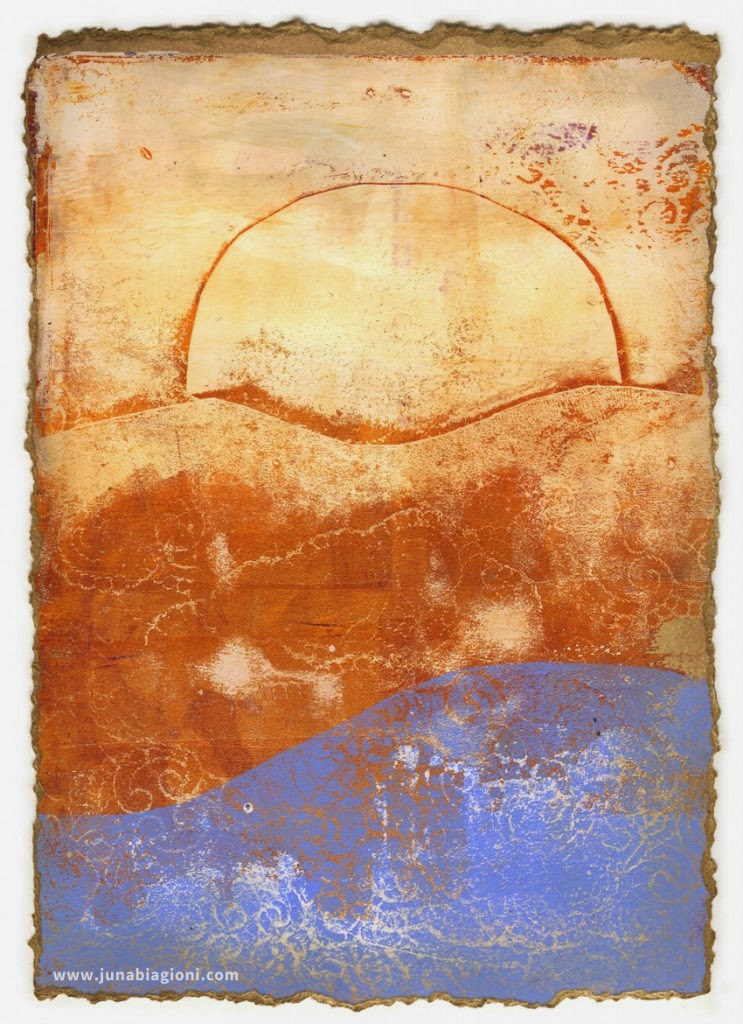
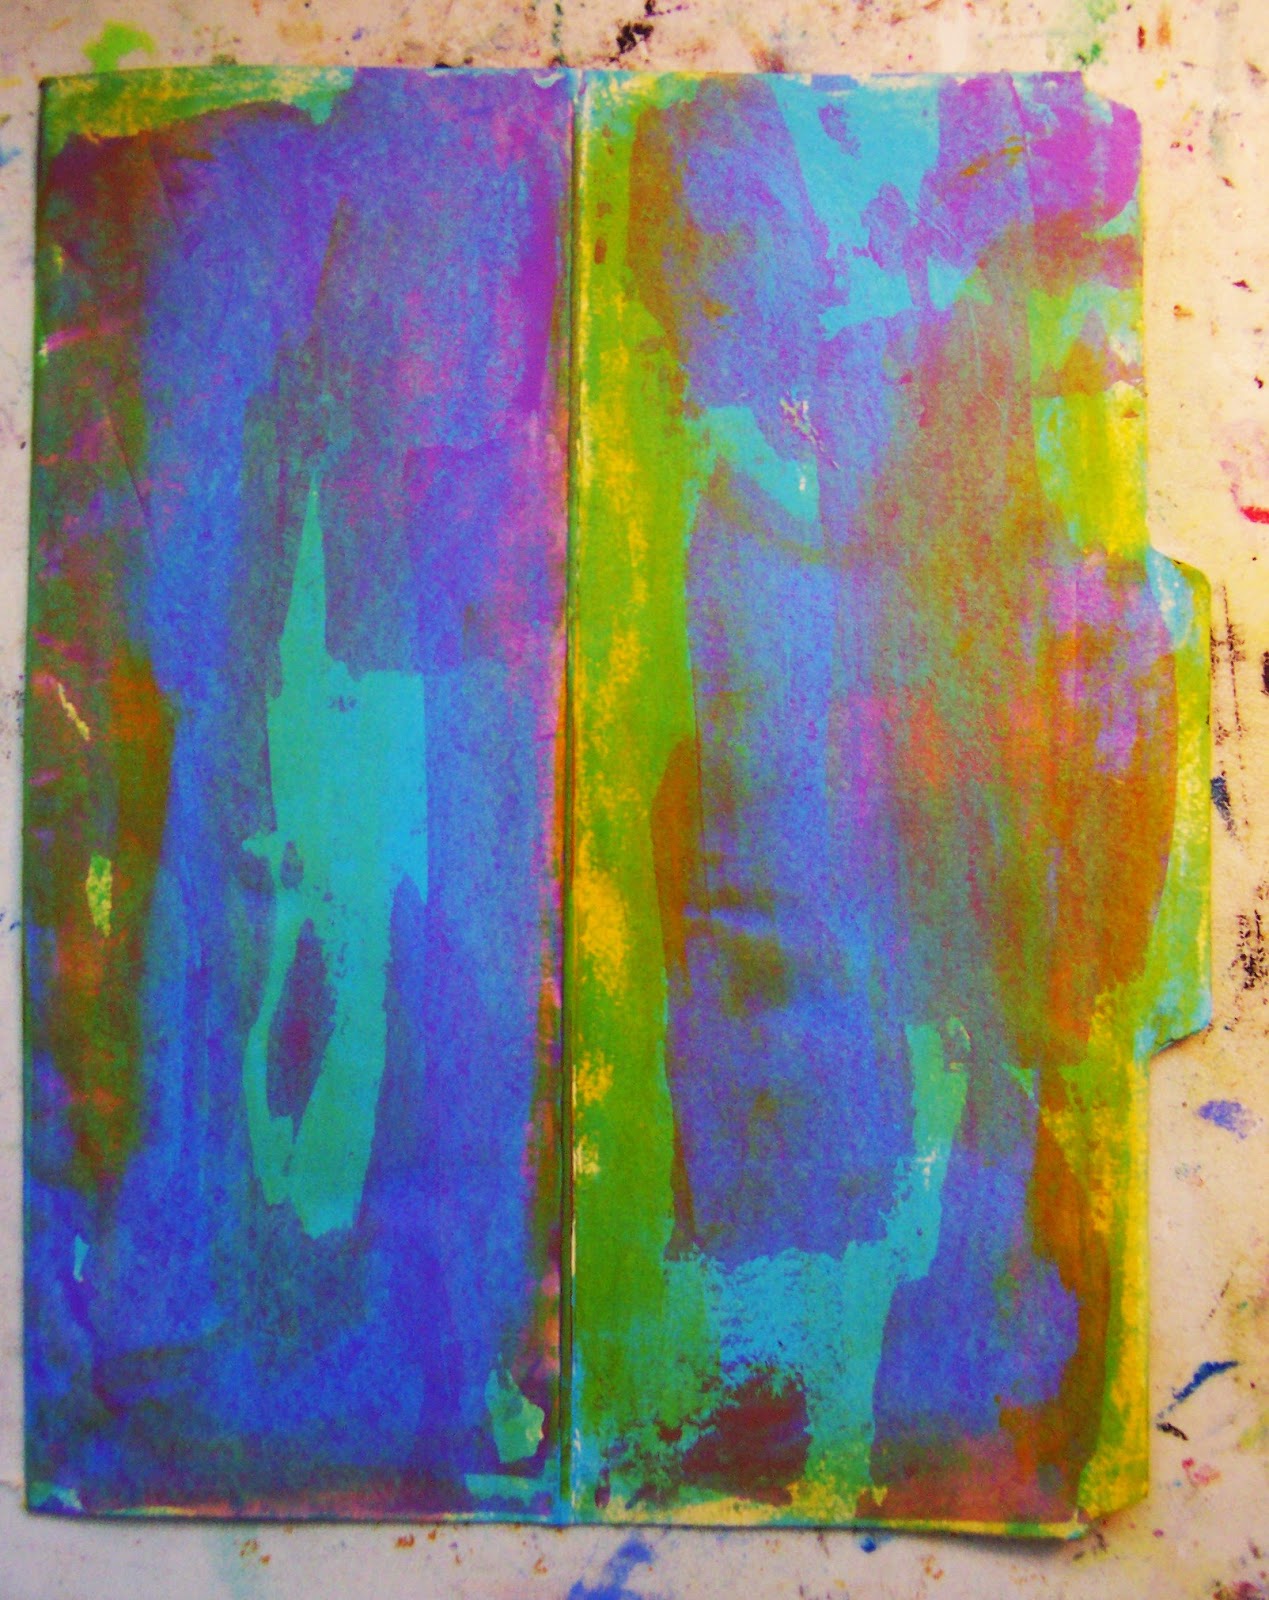
3.  How have the prints evolved?  Since I’m a mixed media nut, I’ve been incorporating my stencil designs, hand-carved stamp images, embossing, molding paste, and hand-painting. I love that they can be changed up.

4.  What tools do you use to make a variety of prints?  Bottoms of shoes and flip flops. I once saw the bottom of my adult daughter’s shoes and exclaimed, “Don’t throw those out when you’re done with them. I want to use the pattern on the bottom.” She rolled her eyes. I also love to use bubble wrap (of course), stamps, my stencil masks, leaves, the bottoms of fruit trays (don’t blame me if you start eyeing them up in the produce section), and on and on. I’m always seeing texture tools throughout my house.

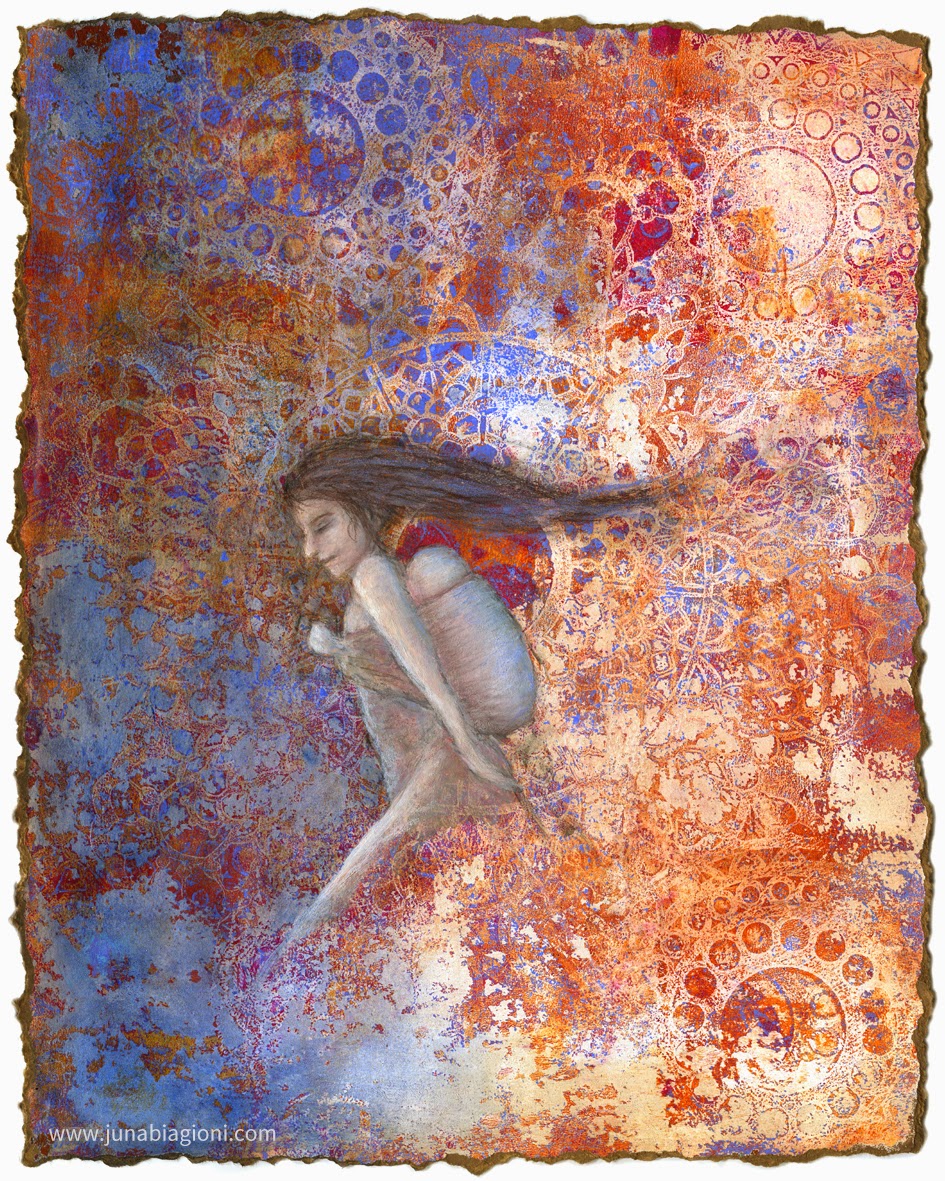
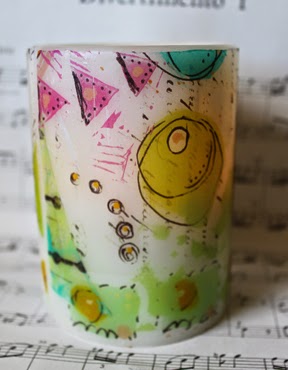
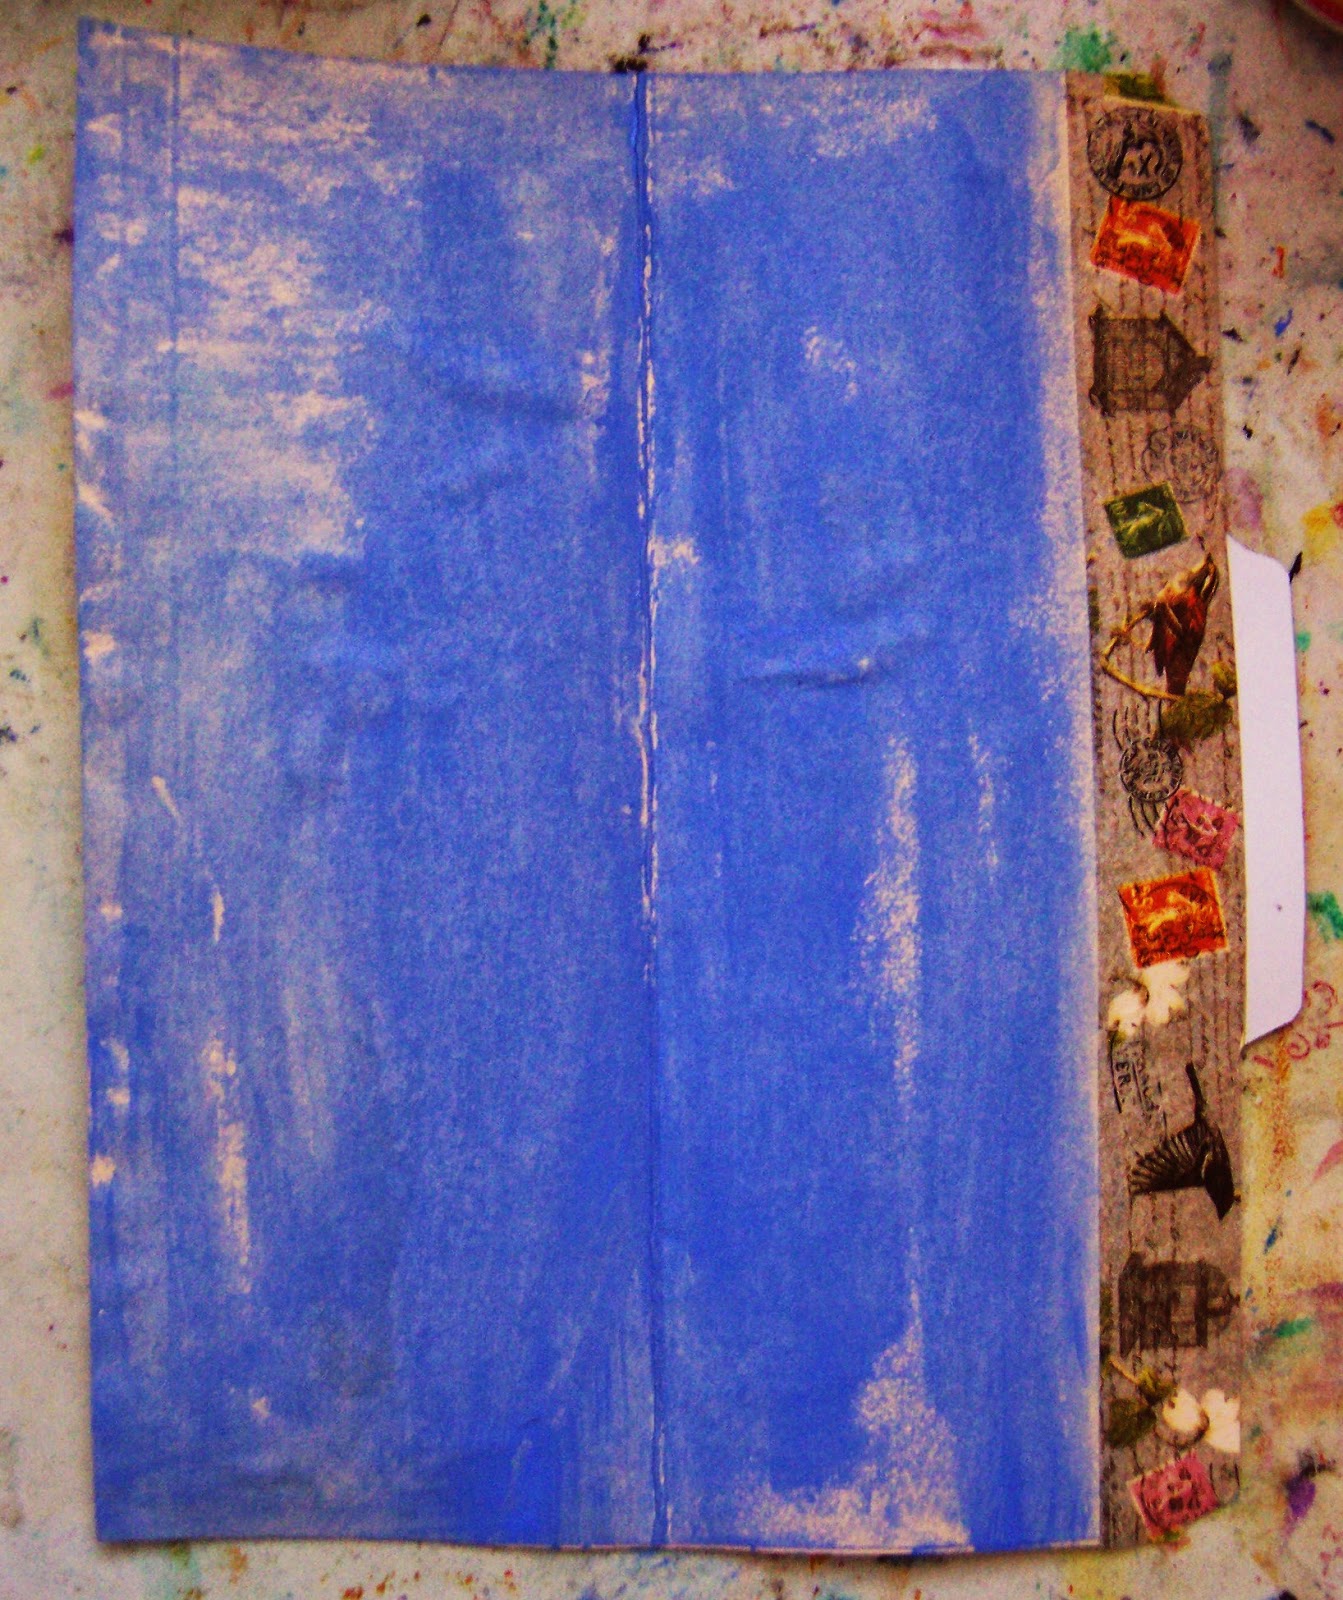
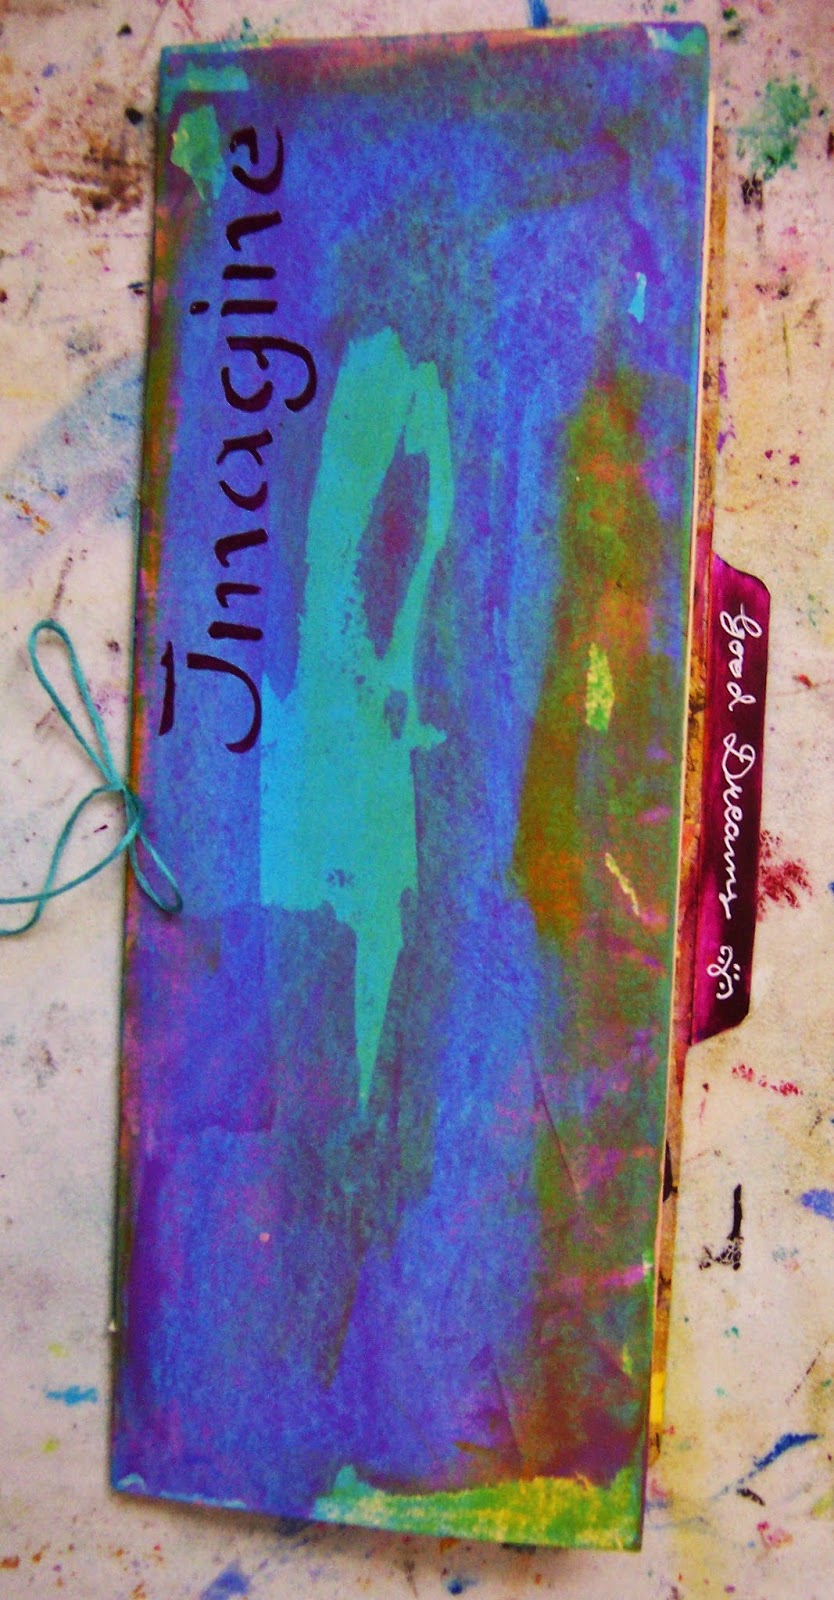
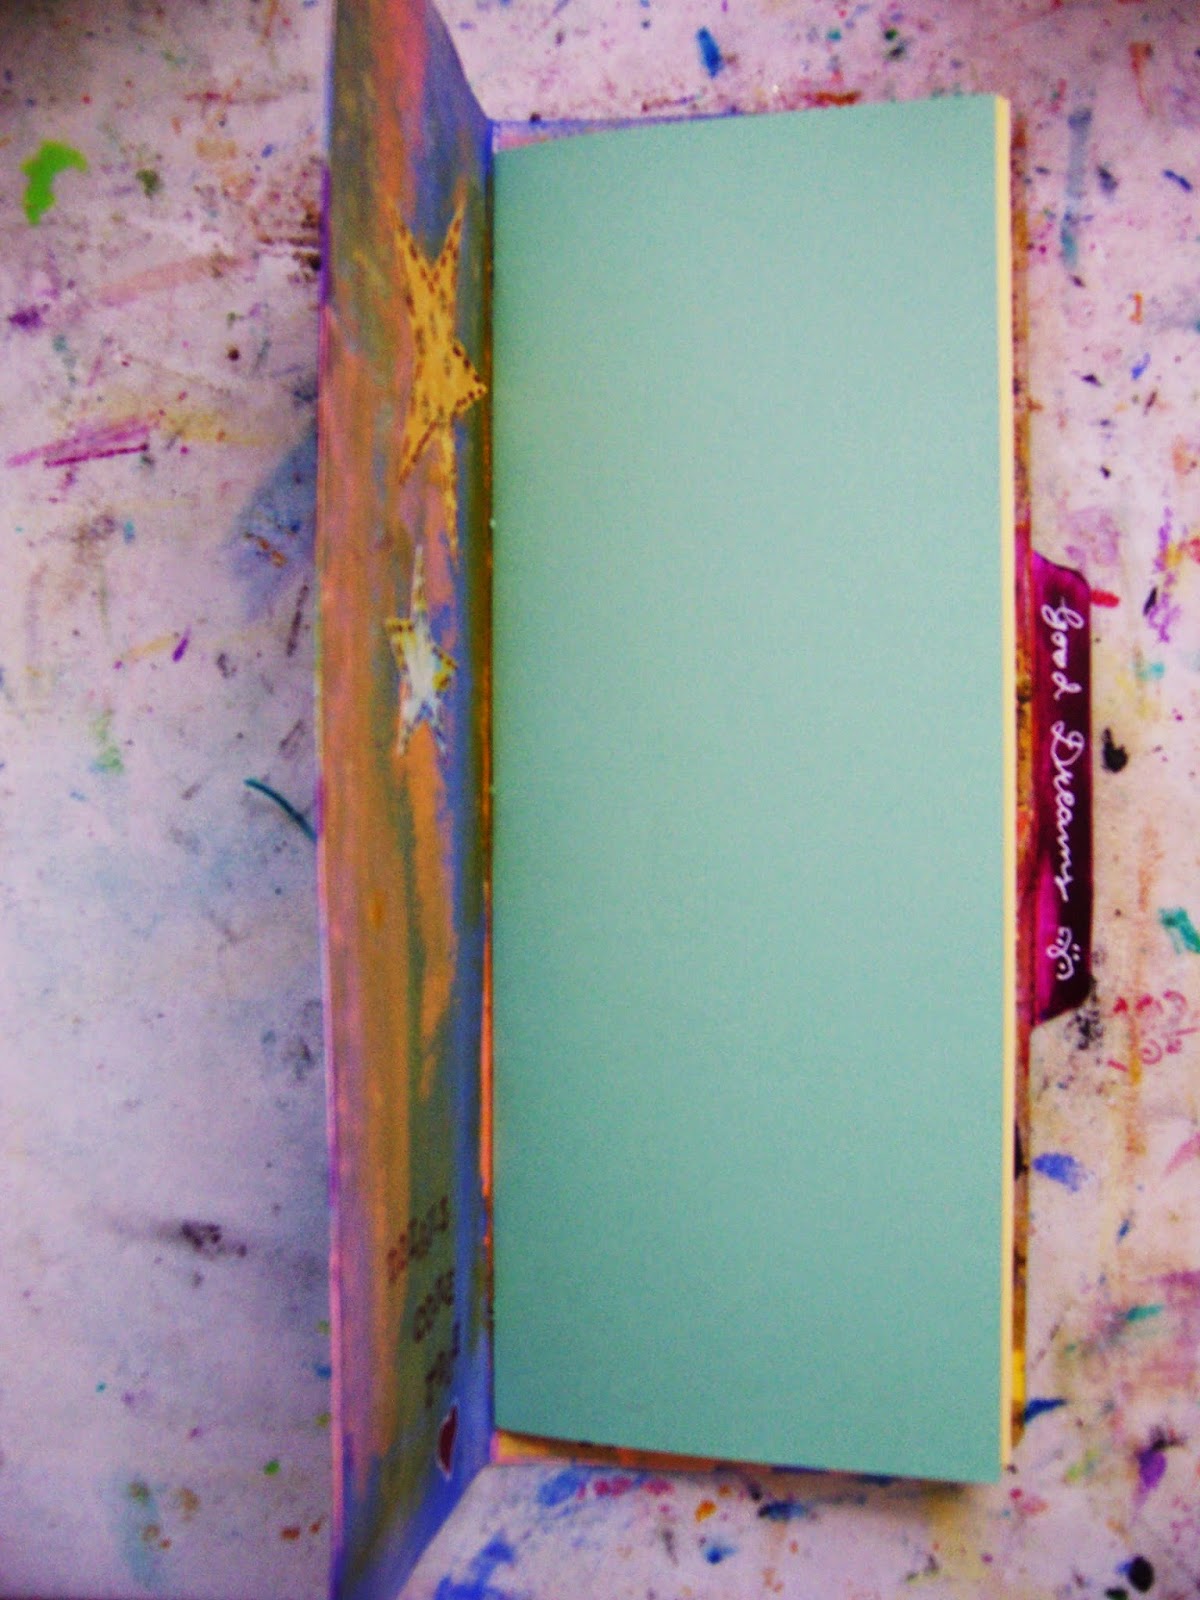
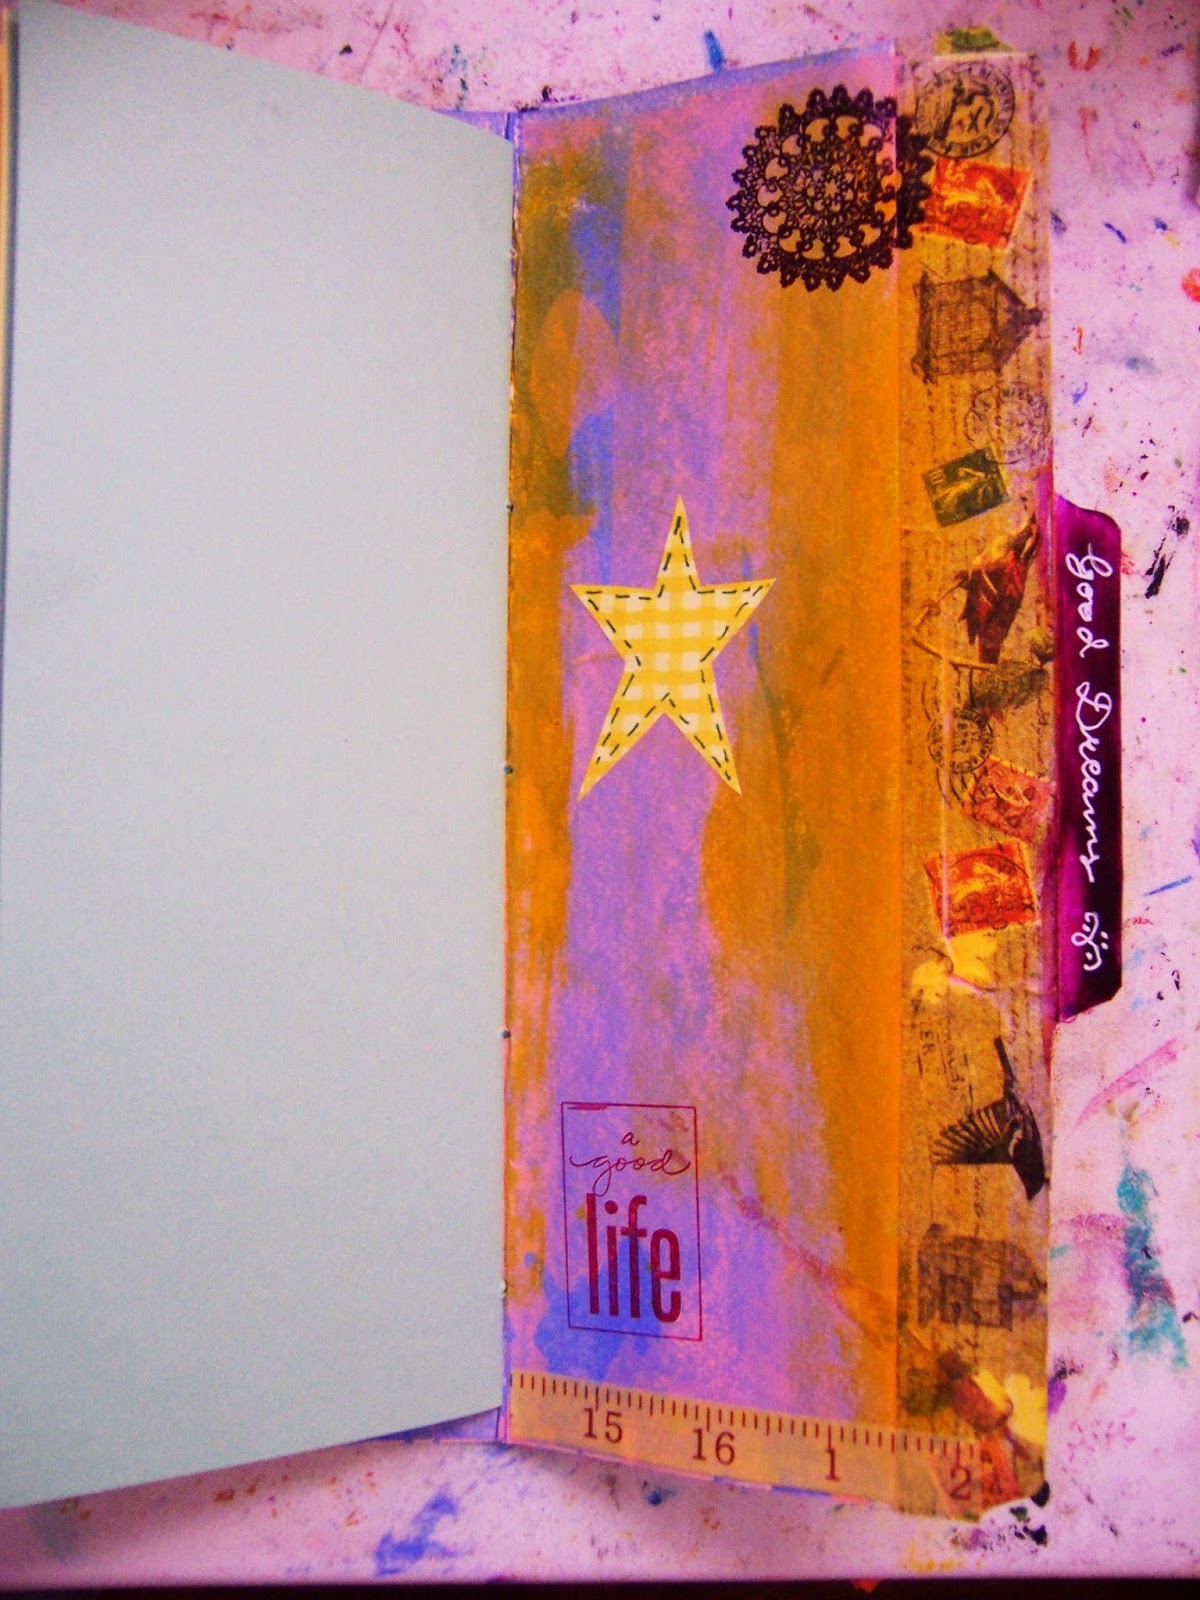
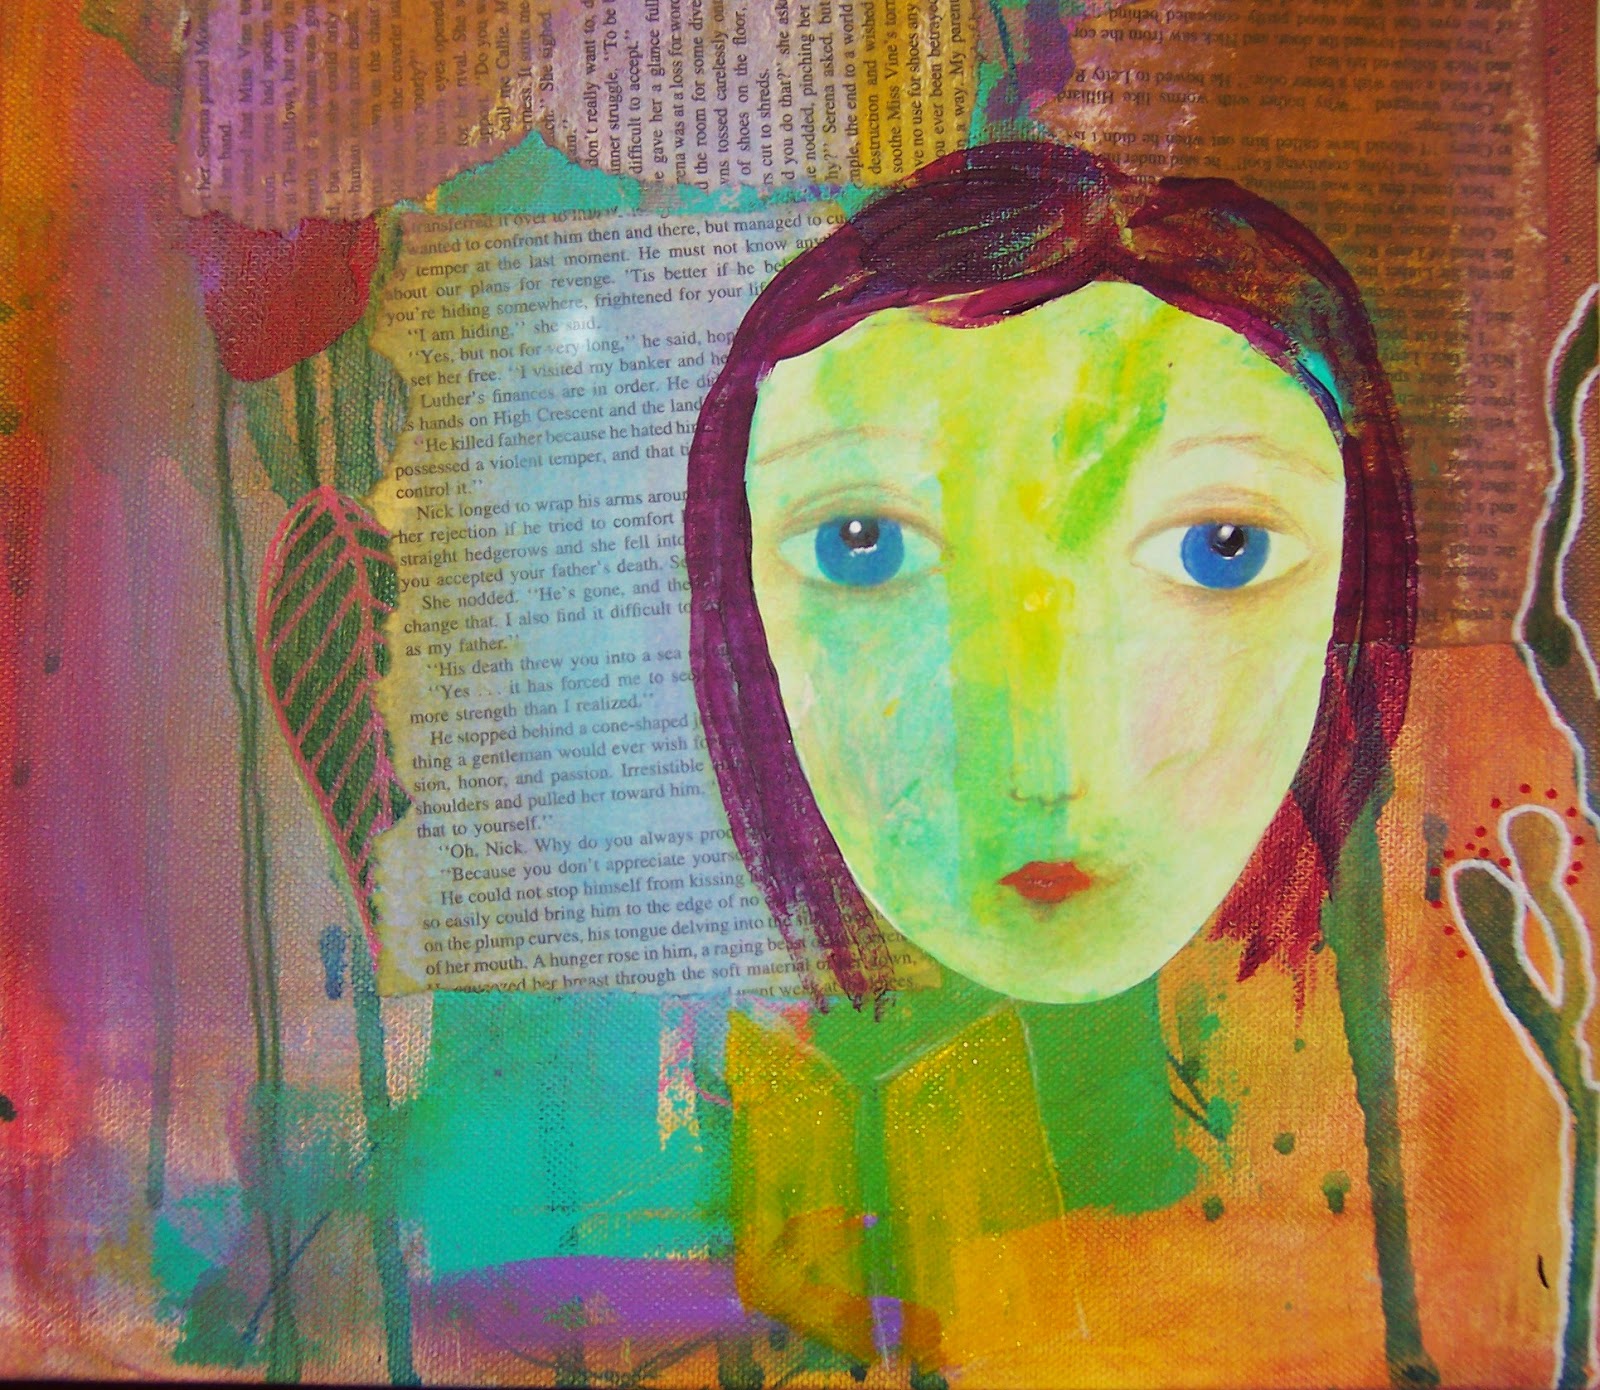
5.  How do you use the prints?  What do you suggest to beginners (as far as using the prints in other media?)  I love using the prints as a collage base for my mixed media canvases. They’re great to use on journals, candles (see my blog), cards, envelopes, and decoupage (think “funky”). Anywhere you use paper, you can use your Gelli prints. Sometimes I like to use a “theme” of color, depending on the project I’m doing. I’ve been known to decoupage onto furniture, cigar boxes, old cabinet doors as a base for an assemblage piece, and my husband.

Well, I’m joking about the husband, but I think sometimes he’s afraid if he stands still, he’ll be “Gellied”.

6.  Tips and tricks in general.  Anything special to know about Gelli plates?  Anything you wished you had known when you started? Make sure to store your Gelli Plate in a climate controlled environment e.g. NOT in a hot car and NOT in a freezer. Also, don’t use a glossy paper on the plate (like photo paper or glossy magazine pages) Other than that, they’re pretty sturdy little buggers. When looking through magazines, keep your eye out for images that you can cut out to use as masks, which can be really fun. When using texture tools, make sure you’re not using anything sharp, or you’ll have a permanent “texture dent” or “texture rip” on the rest of your prints. Remember that often “mistakes” are just new techniques. At least that’s what I always say.

And, if you’re anything like me, your crafting area is a disaster. All. The. Time. So, when you sit down to do Gelli printing, make sure you’ve cleared enough space for drying prints, or else you will end up having to use all of your bathrooms and your bedroom floor, which I’ve never done.

If you’re interested in some of my original stencil and mask designs, please feel free to visit my Etsy shop at

https://www.etsy.com/shop/Howsewears?ref=hdr_shop_menu

And, if you’d like to see some Gelli techniques as well as my other craft adventures, please visit

www.thisandthatfromtami.blogspot.com

Thanks for reading! Fondly, Tami


I LOVE what she has made with the Gelli prints!  I wish these give you some inspiration to expand your own prints.  There is no end to the versatility of the Gelli printing plate.  Thank you, Tami. :) 

Monday, October 20, 2014

Manila folder journal tutorial and giveaway!

Hello lovelies,

I have been on a tear making art journals lately.  Funny how things go in waves isn't it?  Anyway, I made a manila folder journal this weekend and I'm raffling it off to one lucky winner.  I had so much fun!  The pictures are not the greatest, but I had only artificial light when I took them.  I wanted to show the step by step process.

Speaking of cameras, I was talking to a geeky friend the other day about buying a new camera and what kind I should buy to get better a resolution for my online prints.  I don't like it when only small prints are available.  Anyhoo, he gave me the low-down and I realized it would cost me about $200 to get a decent enough camera to capture my art work.

Then I went to lunch yesterday with a dear friend and she handed me a bag with a black pouch inside.  What is this? I asked.  She said, open it, which I did.  Inside was a Nikon camera!!!  It will fit the ticket perfectly.  She was gifting it to me since she just got a new camera herself.  I had no mentioned that I was looking for a new camera.  Talk about manifesting.  I have been working on the law of attraction a lot lately. 

Now for the tutorial...

I started with a used manila folder and blacked out the text on the tab.  I used a liberal amount of Mod-Podge to glue the folder together, being careful that the edges stuck well.  I still ended up with some air bubbles once it dried.  Grrr.  


I used a strip of washi tape over the uneven edges and glued down some white cardboard to reinforce the tab.  I made sure to lay down a strip of glue to hold down the washi tape forever, lol.


I used a bone folder to really press down the fold hard once the Mod-Podge had dried.  This was before the washi tape obviously...


I cut the white cardboard to the shape of the tab and now had a very sturdy tab.


I now laid the folder flat on my table and spread out a layer of paint...


I spread some paint on the back of the folder.  I like the shabby uneven look.


I used several layers of paint, mostly spread with an old gift card.  Both sides are similar, just a slight difference in the colors.


I painted the tab purple and wrote the words "Good Dreams" on it.  I stamped the front cover with the word Imagine, and there is plenty of space for embellishment.  The back cover has only paint on it, so you can fix it up the way you like it.


I cut out some paper stars to cover the air bubbles (grrr...) on the inside cover and stamped some inspirational words.


I used card stock paper for the signature.  There are 24 empty pages to embellish when all is said and done. They are a bit narrow, but that's the shape of the folder. Card stock is not as durable as watercolor paper, but you can certainly use wet medium and paints on it.


I tried to get a picture of the various paper colors, but it is not so good.  There are two sheets of green, two yellow, and two manila colored.  I thought it was fun to add varied colors.


The inside front cover adjoins a green paper...


And another close up of the back inside cover.  The picture is pinkish, and I blame my camera for that (my old camera..lol.)

So, enter to win!  By entering you agree to receive my newsletter, which is filled with great stuff. :)  If you don't want to enter the raffle, you can subscribe in the window at the top right hand column. Good luck!

THE RAFFLE HAS ENDED, AND THE LUCKY WINNER IS SUSAN PETERSON.


Monday, October 13, 2014

A new free mixed media tutorial for you!

YAY!
Everyone likes a freebie, right?  I thought I'd go over this mixed media piece, since it' was somewhat of a challenge for me.  I had a lot of fun making it. :)  It's a stretched canvas, 12x12".  I started by spilling paint and dribbling and spreading.  I don't have a picture of that part.  It's just to cover the dreaded white space quickly.

I then tried to see some possibilities in the forms that came up, but nothing really struck me.  I painted in a face outline and some flowers.  Looked like crap, so I decided to cover the mess with some pages from a paperback book I once wrote.  Then I spread some thin paint over those to make them blend in better.  I now had a background I could work with, and I kept thinking what now?  I had an old journal page with a face that I liked.  I was not about to cut up my journal though, so I made a regular photocopy on printer paper.  It came out really pale...  We're going to pick up the canvas with some pictures now, but I took a photo of the journal page so that you could see the original:


I used colored pencils on this drawing.  I was trying to learn shading by going over the page lightly with various colors.  I was happy with the result. 
 Then I decided to cut up and glue the photocopy to the canvas. Scary, and I was a bit worried about the paper wrinkling with the Mod-Podge that I spread liberally on the back, To my surprise, it didn't wrinkle, but I got some patches from the glue, so when I spread paint on the face, pale spots showed up.


You can see here how pale the face is to start.  I brought out my Prismacolors and shaded the face some, and then I blended it with the background colors with paints and a baby wipe.  I like to have uniform colors pretty much.


Above you can see the odd spots that I covered with green and yellow just to get rid of them.  I gently added a tiny bit of paint to the eyes, and painted on the hair. Nothing fancy...  I saw some greenery that could stay on the right hand side and outlined them in white.  She was going to read a book, so I painted some yellow book covers at the bottom.


Can't say I liked the "blemishes" on her face, so I blended and smoothed that with some white paint when the green paint had dried.


I outlined the book and stamped on the letters with Staz-on ink.  The bird is decorative paper, which I painted with light blue paint.  The legs are painted on.  I painted a faint outline to the girl's eyes.  I didn't want them to stand out more than the rest, but they looked kind of pale.


I added on more lettering by tearing out paperback pages and stamping them with words.  Reading gave her ideas for her own stories.  And to break up the space in front of the bird, I cut out a piece of paper for bunting and painted that to match.

I enjoyed using the photocopy for the face.  I made sure it was very well glued down, with NO air pockets.  I don't know how well it will hold up in the long run, but I plan to varnish the whole thing with acrylic varnish.  I also found it interesting that the face ended up so different than the original even though they are identical.

Since I'm both an artist and a writer, I'm often torn between the two.  Should I be writing more, or do more art?  It's not easy to have several interests.  I just take it day by day.  I will soon have a new fantasy story out on Amazon, the sequel to Trials of Hallion, Two of Swords.  I actually painted the book cover for it.  When it's complete with graphics, which an artist friend of mine will create, I will put up a picture.  Writing is more of a chore.  Once you start a manuscript you can't just write randomly.  You have to follow a schedule every day to get anywhere.  Writing a book is a massive effort!

With mixed media art or painting, I can flow more, and I like that.  And I like lots of color!  :)
If you would like more tutorials and other news from me, please sign up for my newsletter!  Top right column.  Thank you. 

Friday, October 10, 2014

The winner is...

We've got a winner for the art journal raffle, Beth Bowkett in Scotland.  She is an artist who paints gorgeous whimsical landscapes.  Check out her etsy shop The Artful Bee.  Congratulations, Beth!  :)

Thursday, October 2, 2014

Giveaway time! :)

I have been planning to arrange a giveaway on the blog for a while, and I came up with the idea of making you a beautiful handmade art journal with all the backgrounds all ready for you to embellish.  I actually got really excited about it, and spent hours making one, forgetting time, and forgetting to eat lunch. Maybe I should make more of these?  (Less calorie intake.)  I used Strathmore Bristol watercolor paper, really heavy duty.  After making the backgrounds, I folded and sewed them together with embroidery thread.  The journal measures 7x11" - that's what you get when folding a 11x14" sheet of paper.  There are 16 pages, 18 if you count the inside covers.  You can of course embellish the outside covers too.  Yay!  It's a $30.00 value.  Here are a couple of pictures.


When you enter, please respond to this question in the Rafflecopter window:  What is your favorite kind of art to make? By entering you agree to receive my artsy newsletter.  Good luck!!  :)

a Rafflecopter giveaway